HPC Optimized Pack - Paraview 3D Solutions
- syedaqthardeen
- Jun 21, 2025
- 2 min read
The ParaView GPU Rendering AMI is a ready-to-use solution made for professionals and researchers who work with large 3D data. It runs on AWS cloud and comes pre-installed with everything needed for high-performance GPU-based visualization.
ParaView is a free and open-source software used to analyze and visualize large datasets. It's commonly used in scientific and engineering fields. Normally, setting up GPU support and remote access for ParaView can be tricky—but this AMI handles all of that for you. That means you can get started with your work quickly, without worrying about technical setup.
Key Features:
Pre-installed ParaView with GPU Support: Includes the latest stable release of ParaView, optimized with CUDA and NVIDIA drivers for accelerated rendering and parallel processing.
Amazon DCV Integration: Access ParaView through a responsive, browser-based desktop session with minimal latency and high visual quality.
Lightweight Desktop Environment: Launches directly into ParaView via session scripts, reducing overhead and improving load times.
Automation Scripts: Pre-configured setup scripts simplify deployment and minimize manual setup.
Complete Documentation: Included Step-by-step instructions cover everything from launching your instance to accessing ParaView and running advanced visualizations.
Technical Usage Manual:
Once you subscribe to the AMI for ParaView from the AWS Marketplace, choose the launch through EC2 and launch.
It redirects to the launch instance page, configures the required details, i.e., Name, Instance type, Keypair, Network Setting, Storage, and launches the Instance.

Choose the Instance type as per your requirements.

When the instance is successfully created, go to the EC2 Dashboard in the AWS Console, select your created instance, and copy the public IP of the instance.

You can view the generated password under the file “DCV-LOGIN.txt” for your DCV session.
Use the obtained public IP address from the created instance (Ex: 38.84.57.81)
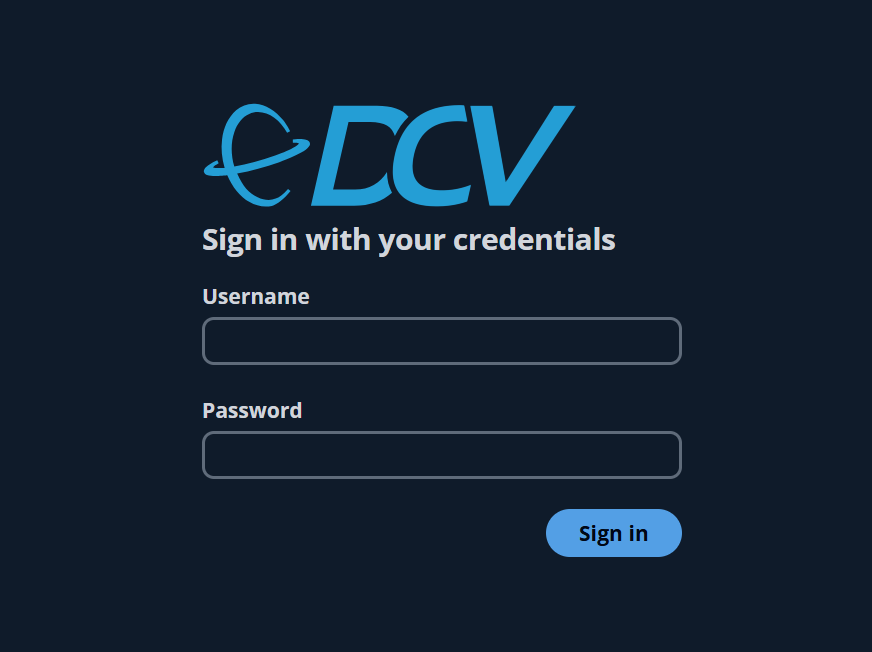
Open a web browser. Navigate to: (https://<EC2_PUBLIC_IP>:8443). Replace your instance's public IP in (<EC2_PUBLIC_IP>).
The Login Page appears for DCV.

Note: Log in through the credentials provided in step 5.
Example
Username : ubuntu
Password : Please check the file “DCV-LOGIN.txt”
Now, the Paraview Application will be launched in the browser.

Insights & Support:
For further details about Paraview and its uses, refer to the paraview.org/ website.
We will do our best to respond to your questions within the next 24 hours in business days. For any technical support or queries, please contact our Support.
Please check out our other Containerized Cloud-Native application stacks, such as EKS, ECS, CloudFormation, and AMI - Amazon Machine Images- in the AWS Marketplace.


Comments